Some serious studying
… and a little advice for creatives.
I recently participated in a Fall Festival hosted by a local Florist/ Greenhouse/ Garden Center. I was especially excited about this invitation—I'd have inspiration surround me and, in a way, get to see what it would like to be a real florist.
What I didn't anticipate was the fact that most of the shoppers that day wouldn't have any idea that my flowers are made of paper. Most of them had never seen a paper flower before—and while they could name everything in my collection, they had a lot of questions about what I do and how I do it. It made me realize that I could be doing a better job answering some of these questions.
By far the most frequent things I'm asked are: "How long does it take you to make a flower?" and "Do you use a template?"
So today I'm going try to answer both of these questions with a bit of a demonstration and an inside look at my process.
Study #14: The Alstroemeria

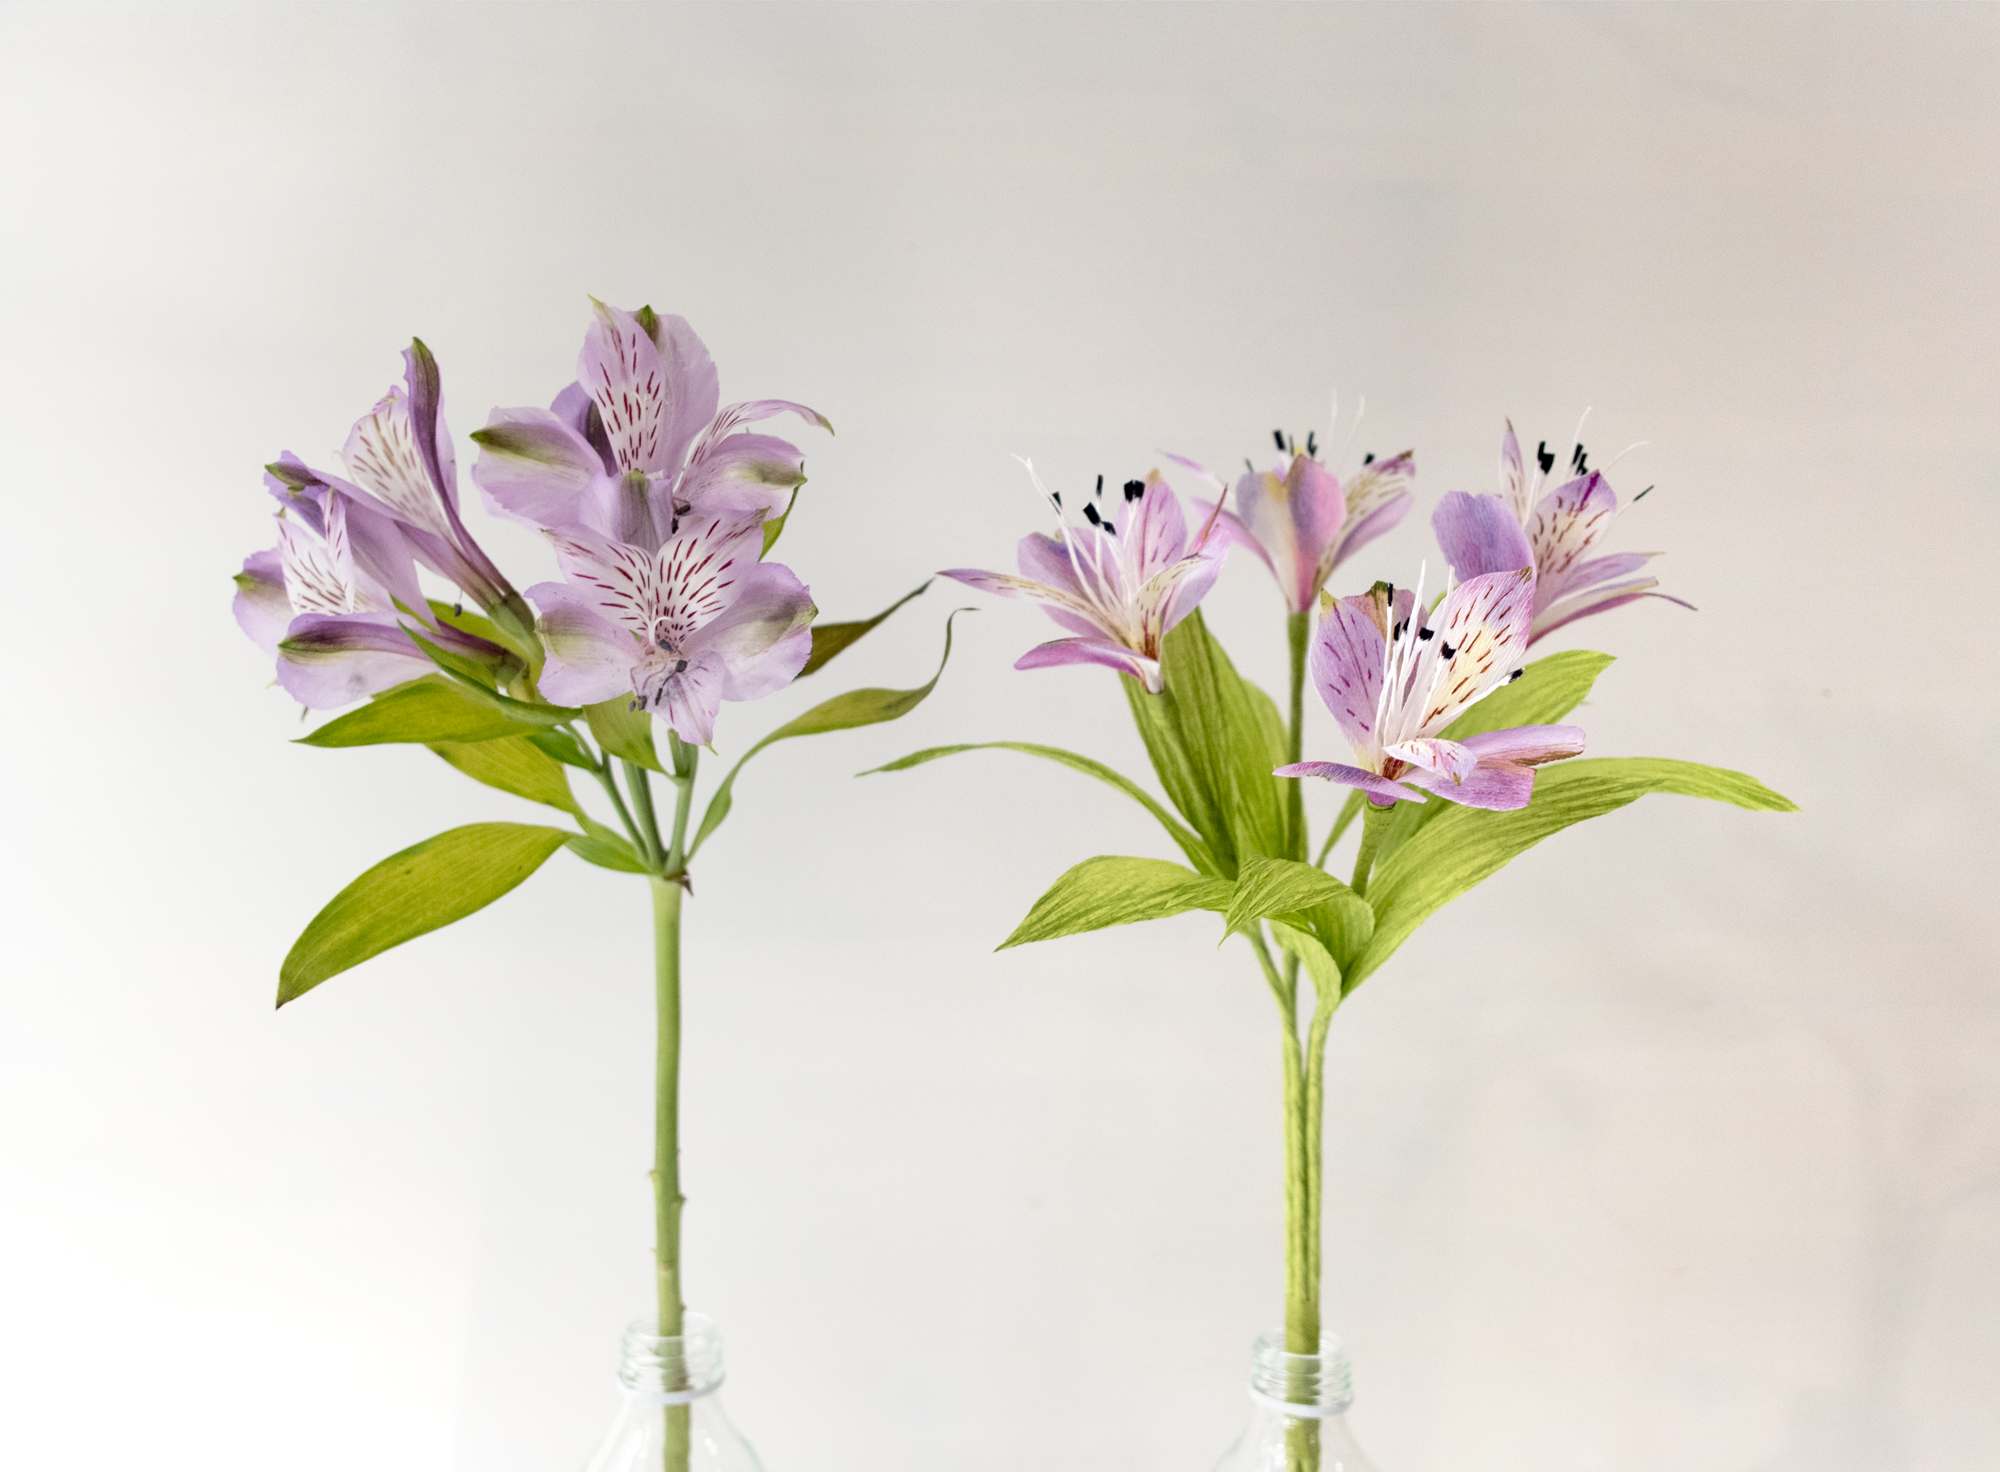
Before: Live models

After: Paper set
Step 1: Acquire.
Last week I shipped out a Paperversary bouquet that called for Alstroemeria. My husband once told me he likes these, so I buy them fairly often, but I've never actually made them! So while we were at the grocery store last week, I picked up a big bunch.
Step 2: Dissect
Sorry kids, floral cruelty is involved in my work—it is what it is. I start by picking out the most excellent looking bloom in the bunch. I take photos so I can see how it attaches to the stem, what the calyx looks like, how its leaves look (if there are any)—then I behead it.
And then I tear it apart.
The alstroemeria isn't as difficult to understand since it only has a few petals and the inner workings are relatively uncomplicated. When I do this with peonies or roses, I have sheets and sheets of body parts lying everywhere. Gruesome.
Step 3: Document
I must admit I've gone through a few different methods for this stage and I need to be more consistent about how I record this information. In the past, I've used a sketchbook to trace petals, record dimensions, and made my notes about color and paper all in one spot. These look great, but they take a lot longer, and I'm impatient.
For this project, I photographed the sheet (I always use letter-sized copy paper, so I have a sense of scale), I flipped the petals over and shot everything again. Once I knew I had decent photos, I placed the sheet on my printer/copier/scanner and made color copies of the insides of the petals onto card stock.
Step 4: Templates
Since each of these six petals has unique markings and shapes, I wanted to keep them separate. To make it easy on myself, I cut out the color copies and used them to make my petals. I cut four of each (to make four flowers total), out of doublette (my paper of choice for color work).
I didn't overcomplicate the stamens on these, and I think they turned out just right. I used the same white doublette and ink. The two little antennae-like guys are maybe my favorite part!

Above right, you can see the stacks of photocopied petals I used for my templates with my cut petals below.

Here I'm starting to work on a set of inner petals and checking my size on the stamens.
Step 5: Color
Time for the fun! Once everything is cut out and ready to go, I pull out at least 600% more supplies than necessary and work on coloring in the petals. For these petals, I used a combination of pan pastels and Kuretake brush pens (water-based ink).
I use a scrap of the paper I just cut to test inks before I mess up the real petals, and I always dab off the pan pastels onto a piece of paper or paper towel first, so they don't get too dark. This step took a little while because each petal had different marks and shades on the front and the back.
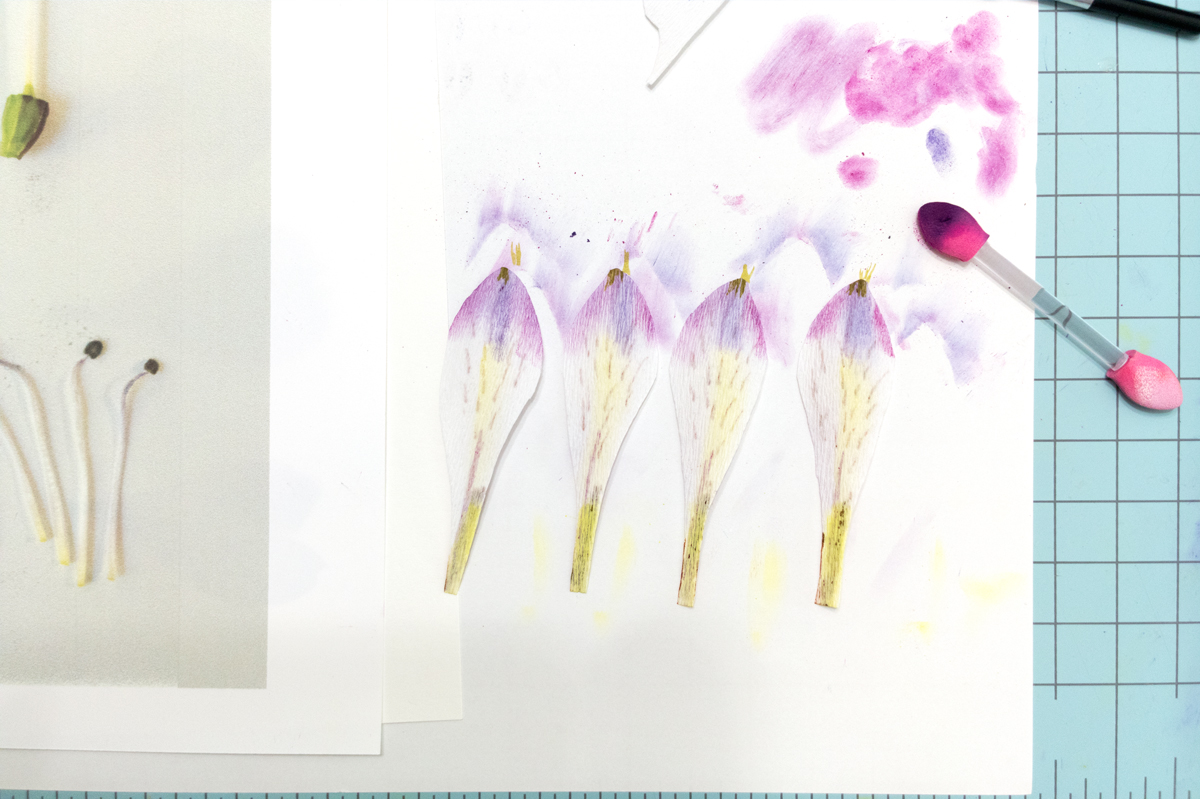
Color application with pastels.

Color application after water-based inks.
Step 6: Assemble
After all the petals were prepped, it was time to put it all together. I kept another live stem on my desk the whole time I was working, so I used that as a reference for positioning and to slightly mold the petals outward correctly. If you've used your only flower to make the template, this is where that before photo comes in real handy. (I've learned this the hard way.)
Step 7: Finish
Don't forget the greenery! I quickly cut three long leafy petals per flower and attached them along the base and finished off the stem.


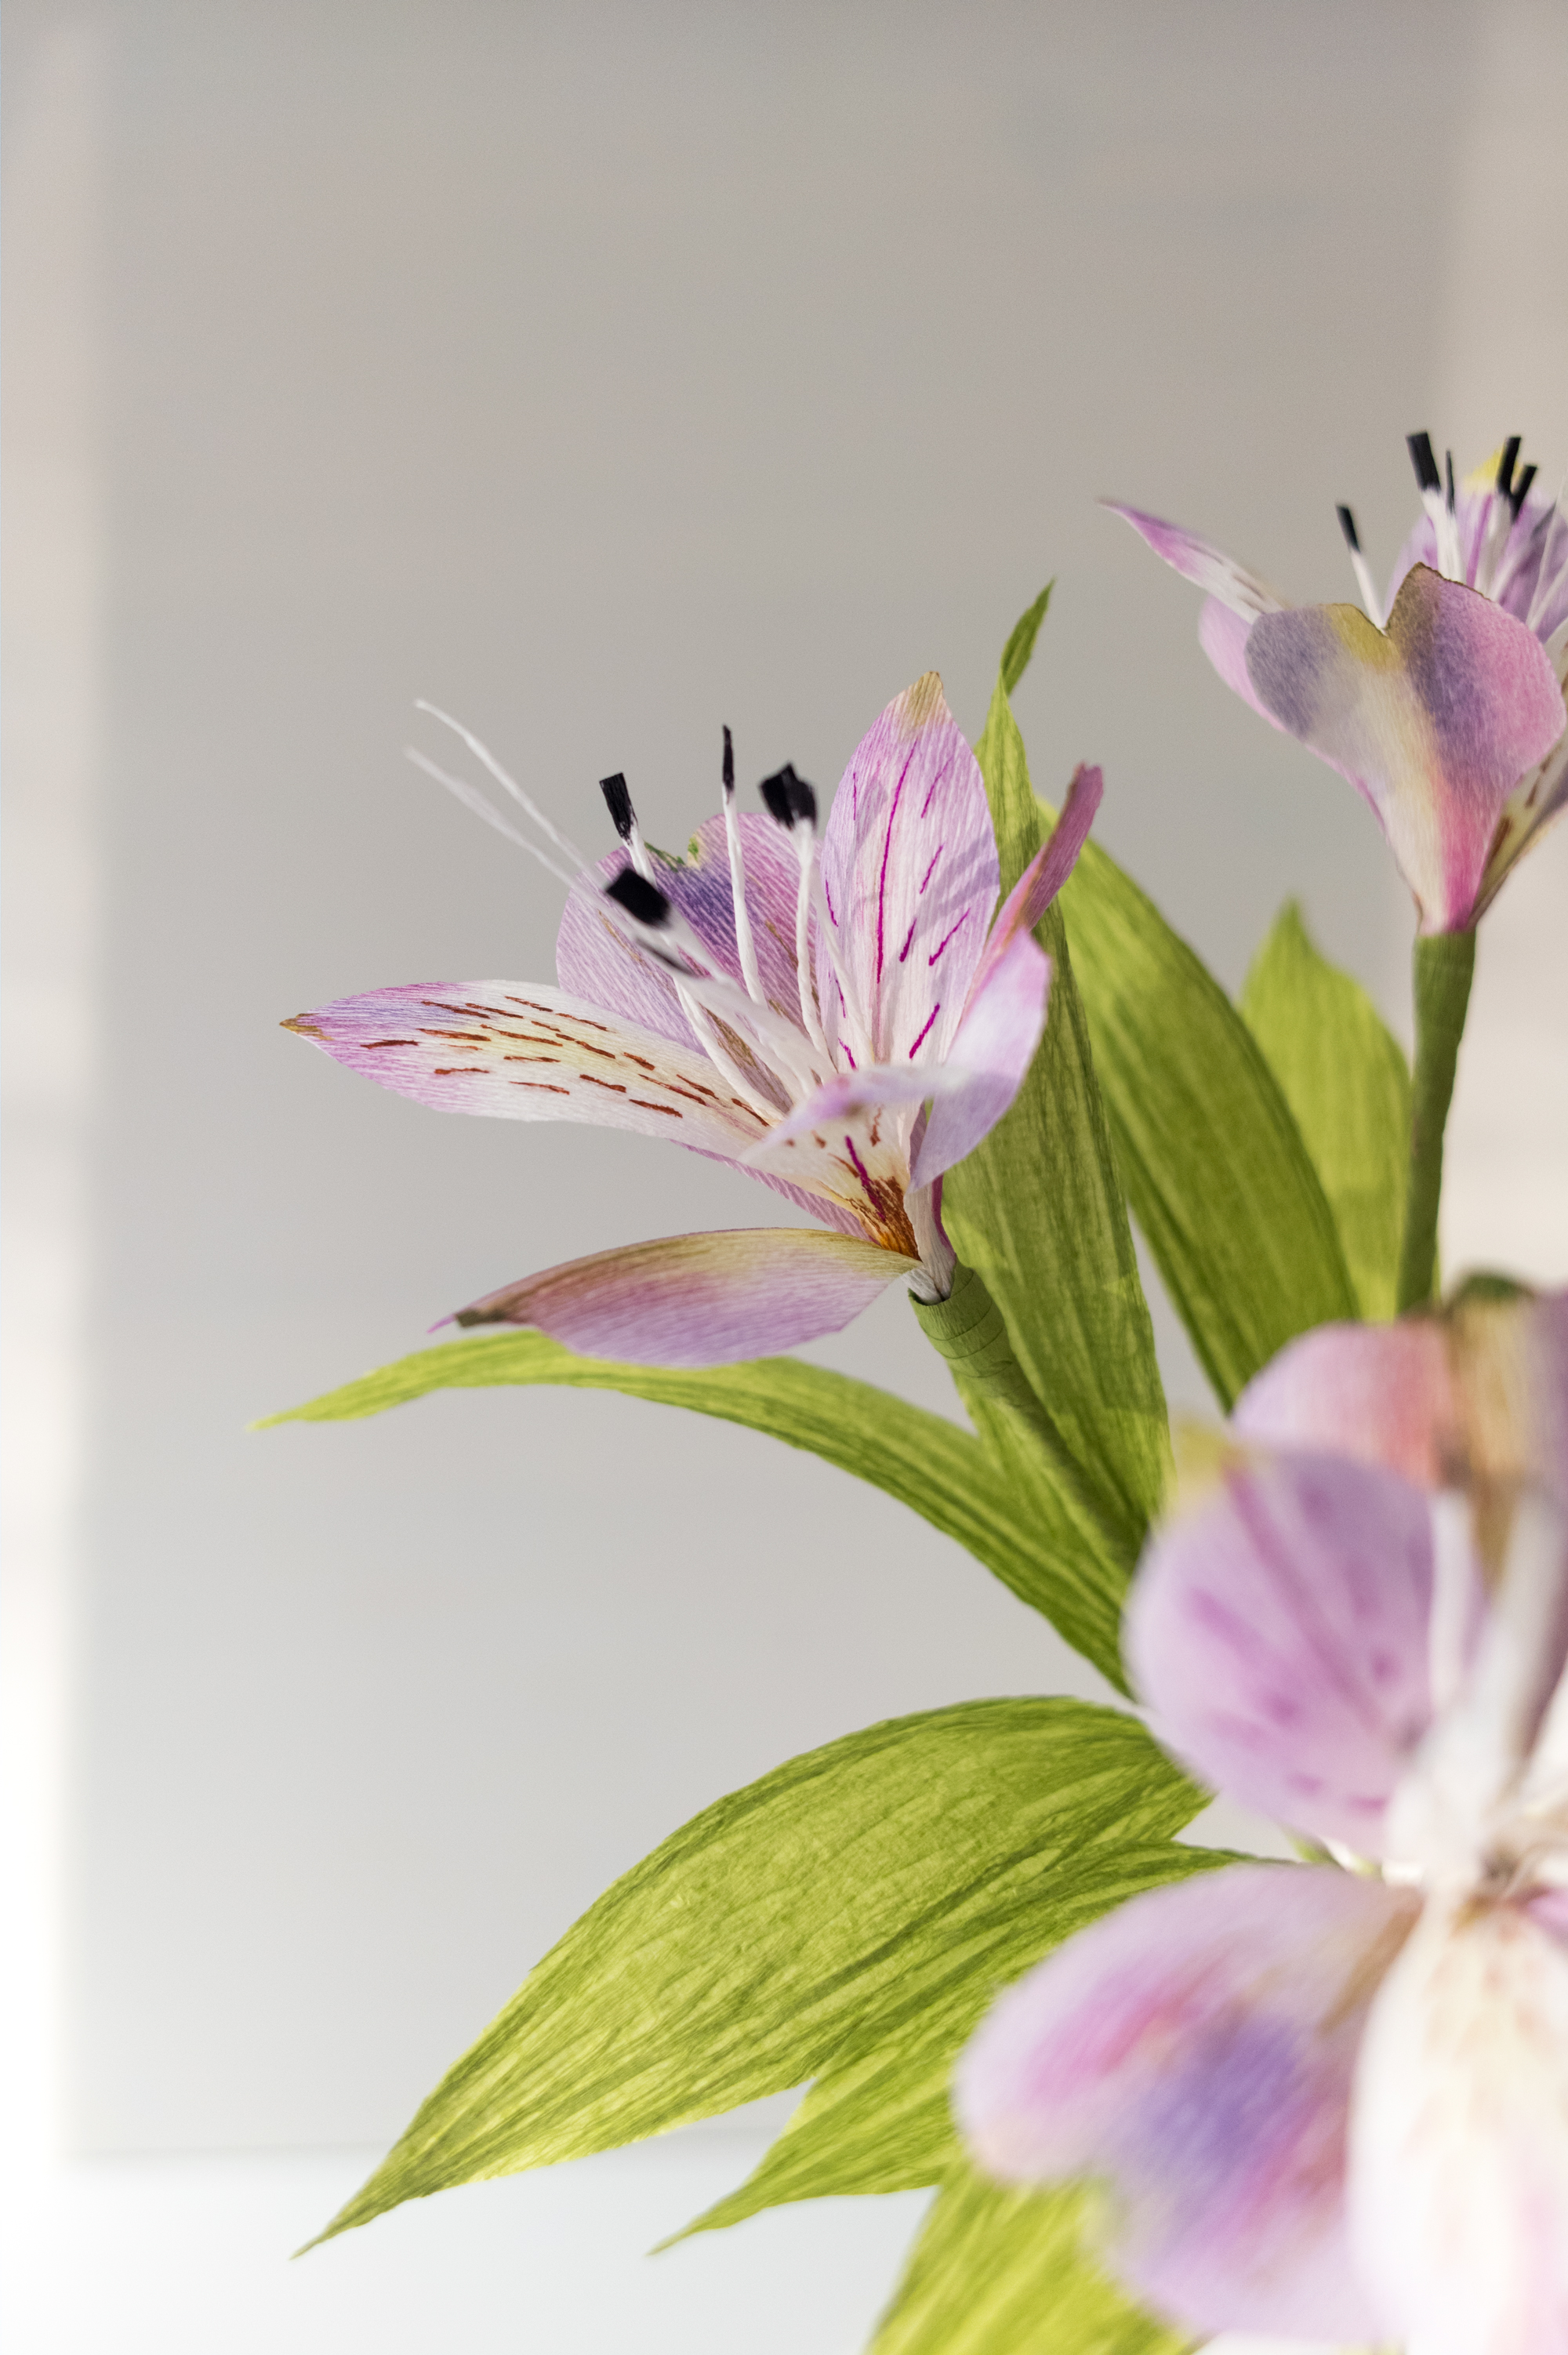

That's it! Easy, right?
Exactly.
This process took me about 4 hours. Granted I was taking pictures, which slowed me down a bit. But for 4 flowers—well anyone can do that math.
Once I get more familiar with specific flowers, I don't use templates at all. And yes, there are also lots of other ways to go about "templates." Books, tutorials, kits, etc. I've tried several, and I learned the basics that way—but for me, it wasn't until I started approaching my work like this that I honestly started figuring it out. And that's the point, right? To figure it out for yourself.
I had a little chat with an astonishing paper artist on Instagram about her photography, and she mentioned checking out a book for backdrop ideas. I told her that I had the book, but I wasn't going to open it. I just bought because I wanted to give the artist my support, but I didn't want her work to influence mine. And her response to me was that she understood because she felt the same way.
She said: "I want to stay on my own path."
And that's such a perfect way to put it. As a creative, it's so important to find and stay on your own path. Of course you're going to be influenced by what other people are doing, or how they're doing it. Especially when you're learning. It's great to be inspired. But at some point you have to filter out that inspiration and make your work your own.
I love the challenge of making flowers that look real—so that's where I start. My process is long and tedious, and it isn't scalable or economical. But it's mine. And I love it.
So next time you see me at a market and my face scrunches up when you ask me "how long did it take you to make that?" It's not because I'm offended, or because I don't want to answer your question. It's just because it's not an easy one to give.
My next alstroemeria could take me 15 minutes (which would be awesome!), but the first one took me 4 hours, after nearly 2 solid years of daily practice, 9 years after completing my very first paper flower.
But yes, I used a template!